The Brand Kit is where you store your organization's logos, assets, colors, and fonts in one place. Once you have added them, they become available inside every event, so anyone on your team can style elements with your brand assets without hunting for hex codes or re-uploading files.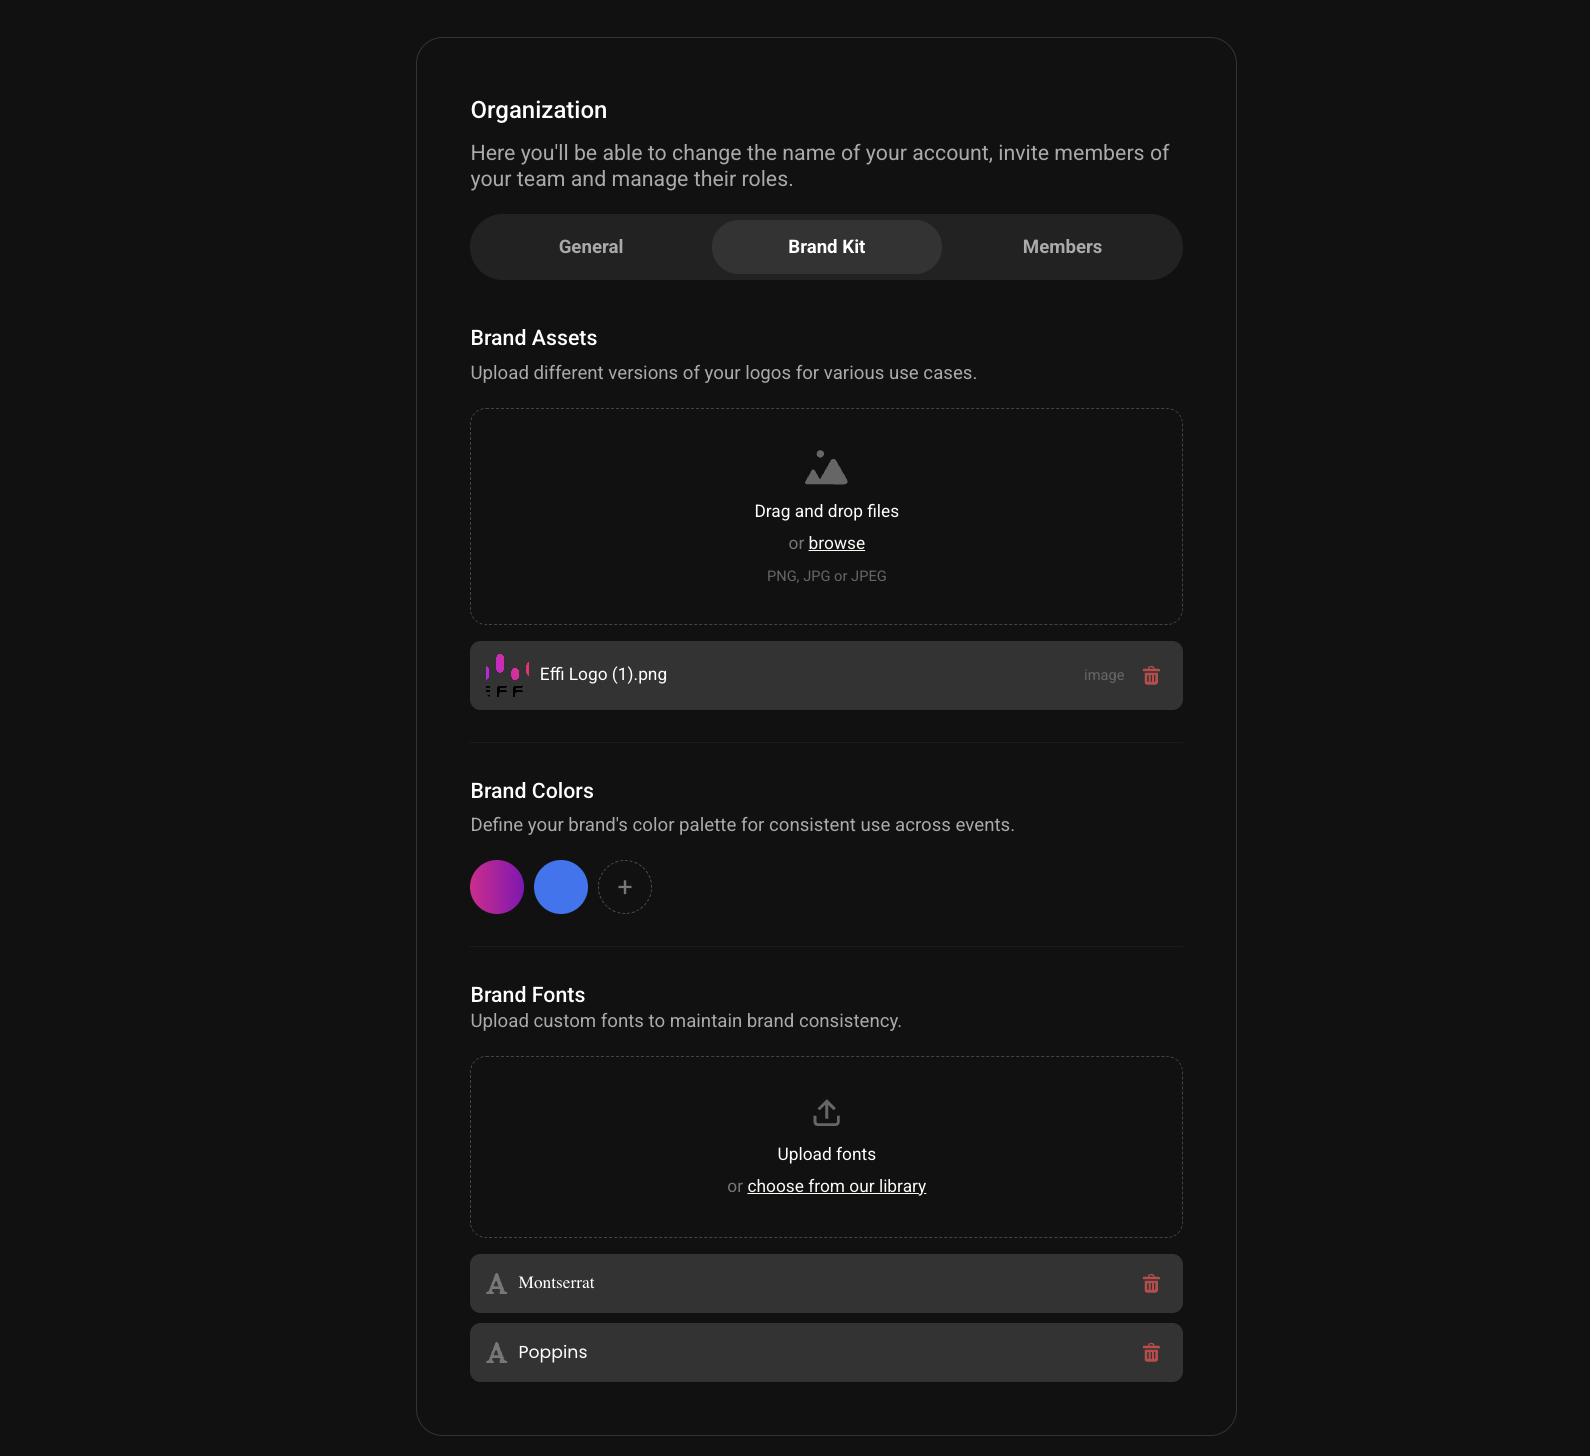
Where to find the Brand Kit
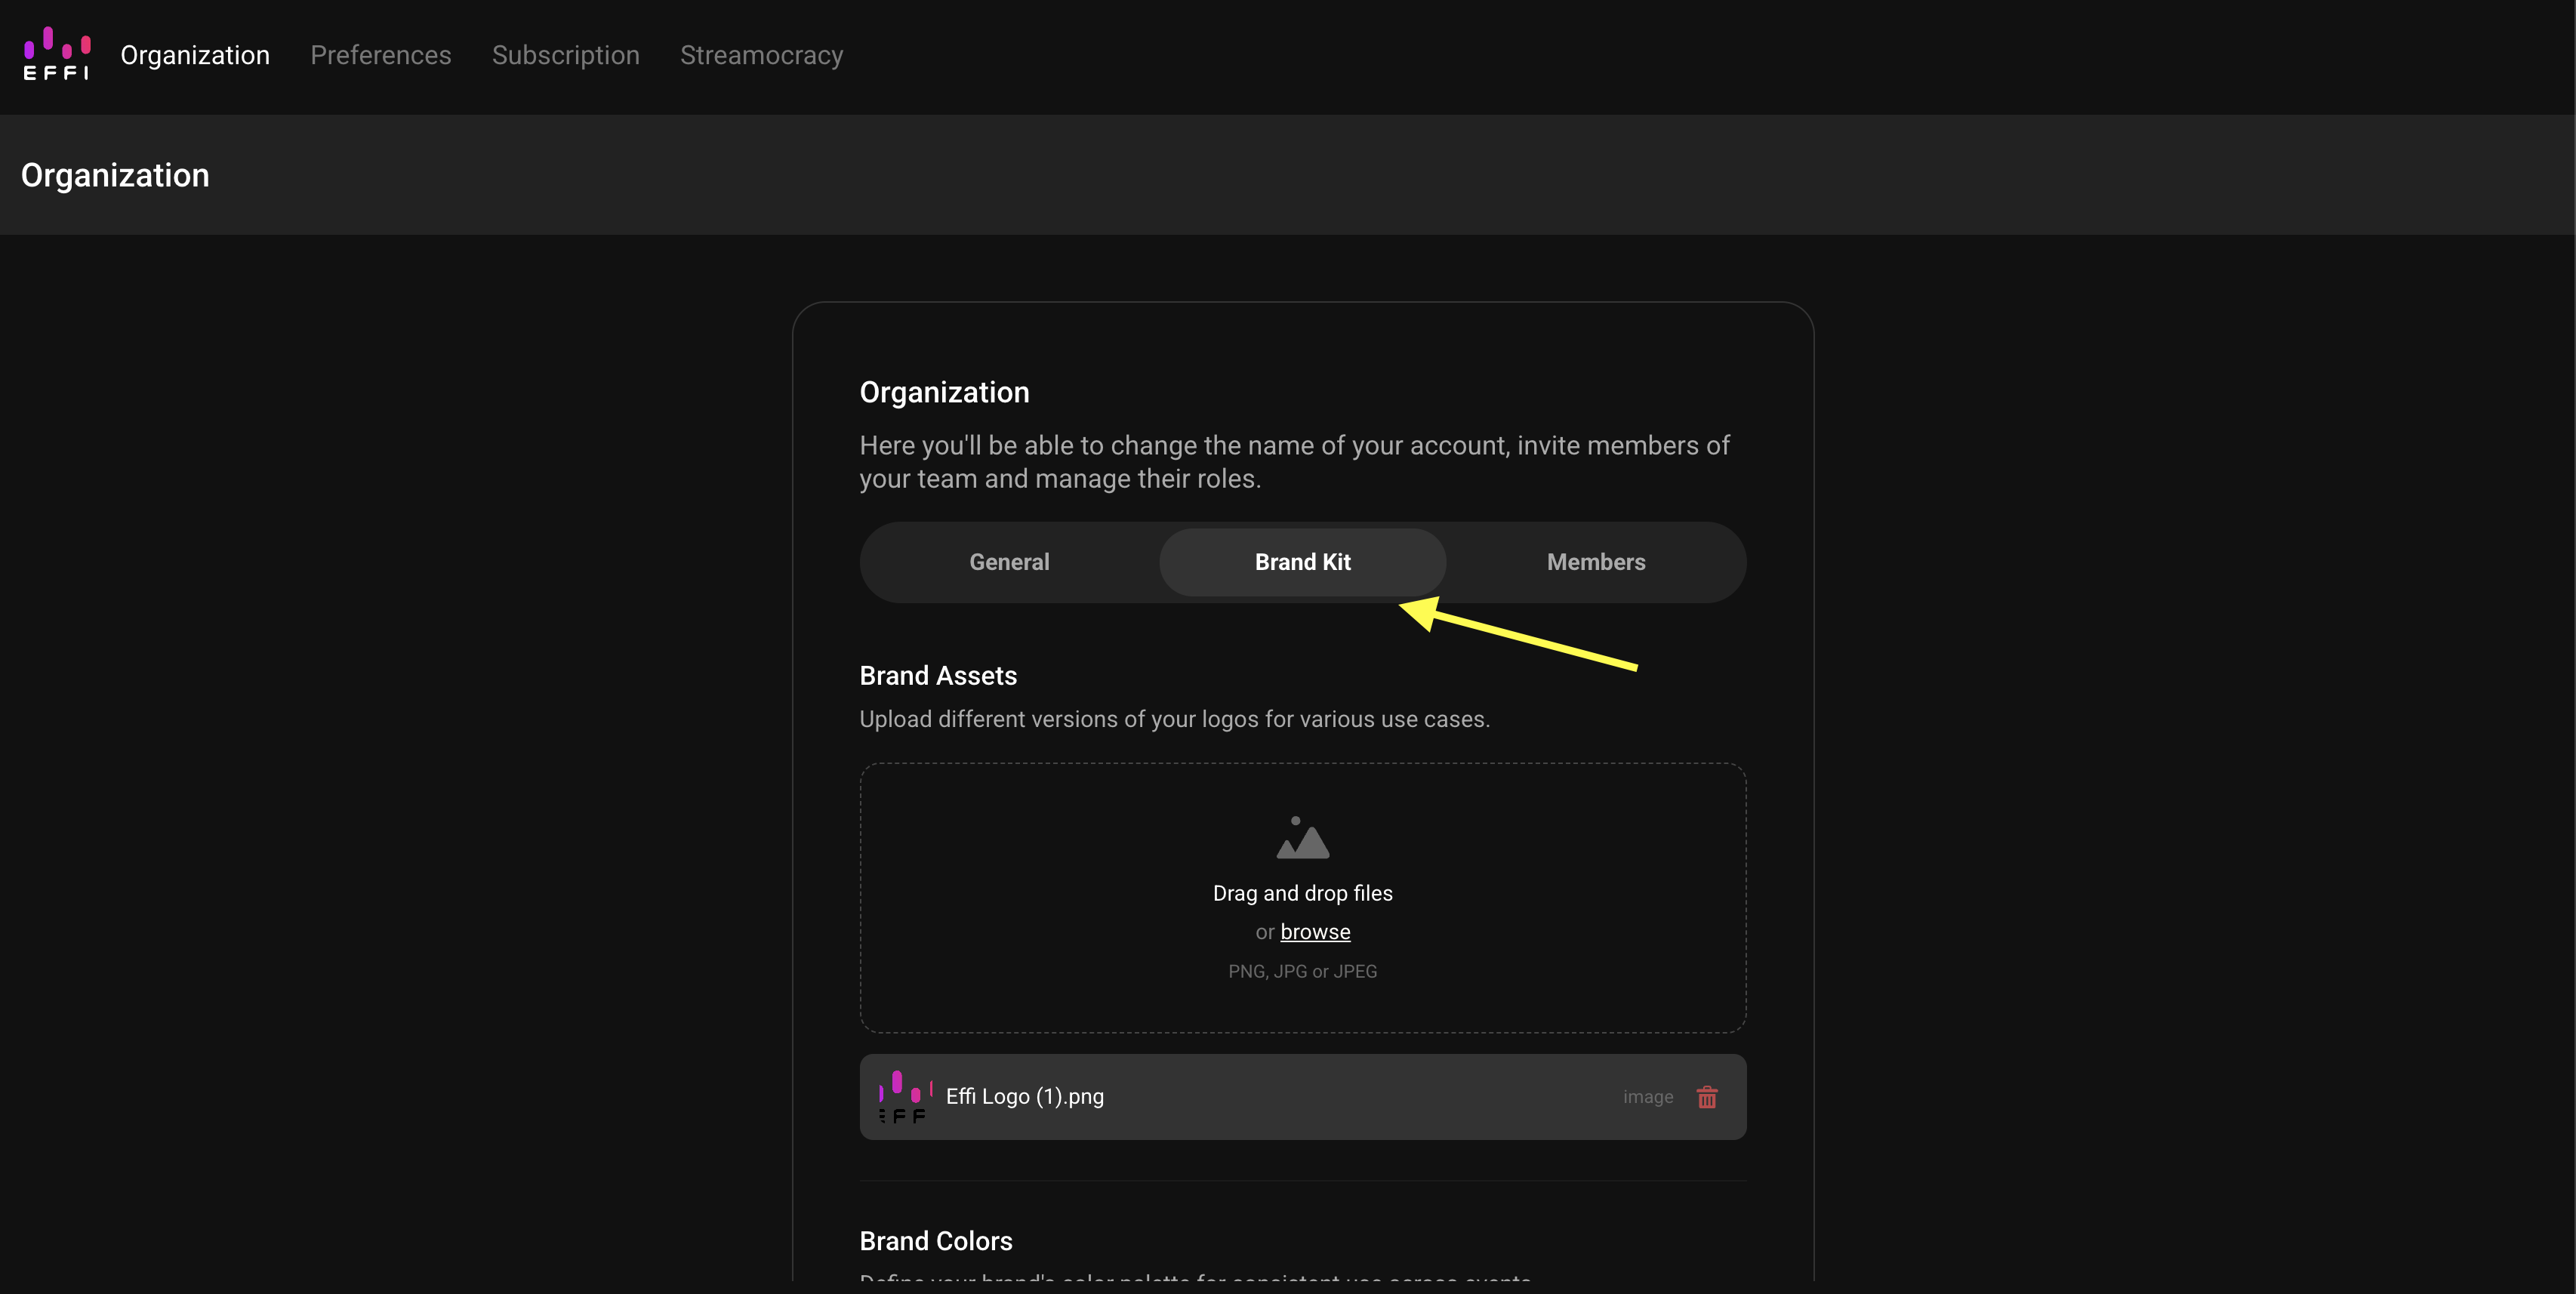
The Brand Kit lives in your Organization settings.
- Go to Account Settings.
- Select Organization from the top navigation.
- Select the Brand Kit tab.
Setting up your Brand Kit
Brand Assets
Brand Assets are your logo files. You can upload more than one version, for example a full-color logo, a white version for dark backgrounds, and a stacked or icon-only mark for tight spaces.
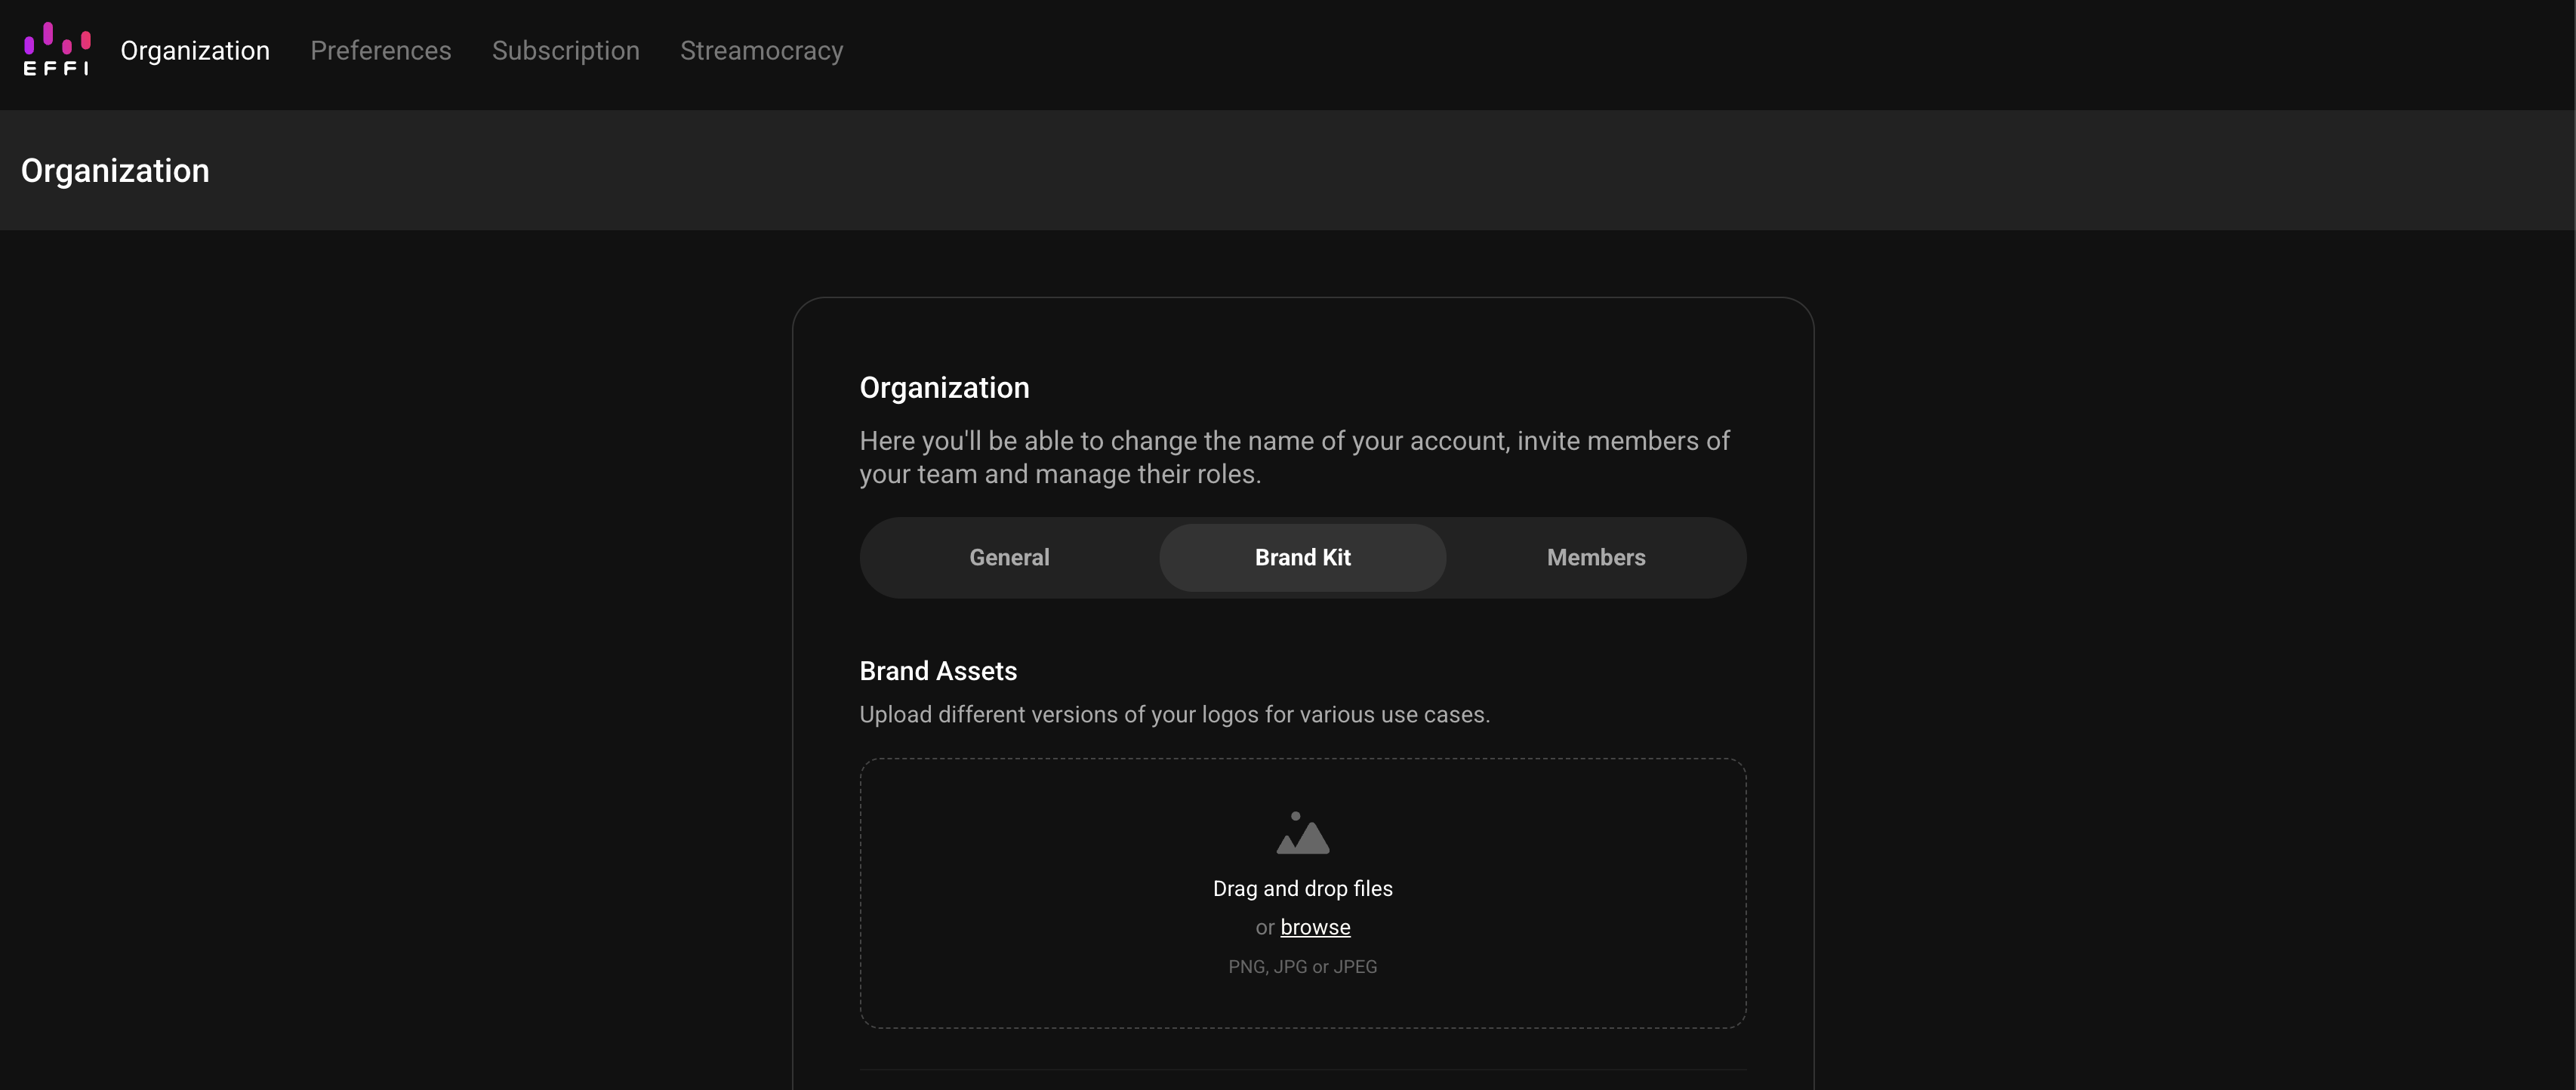
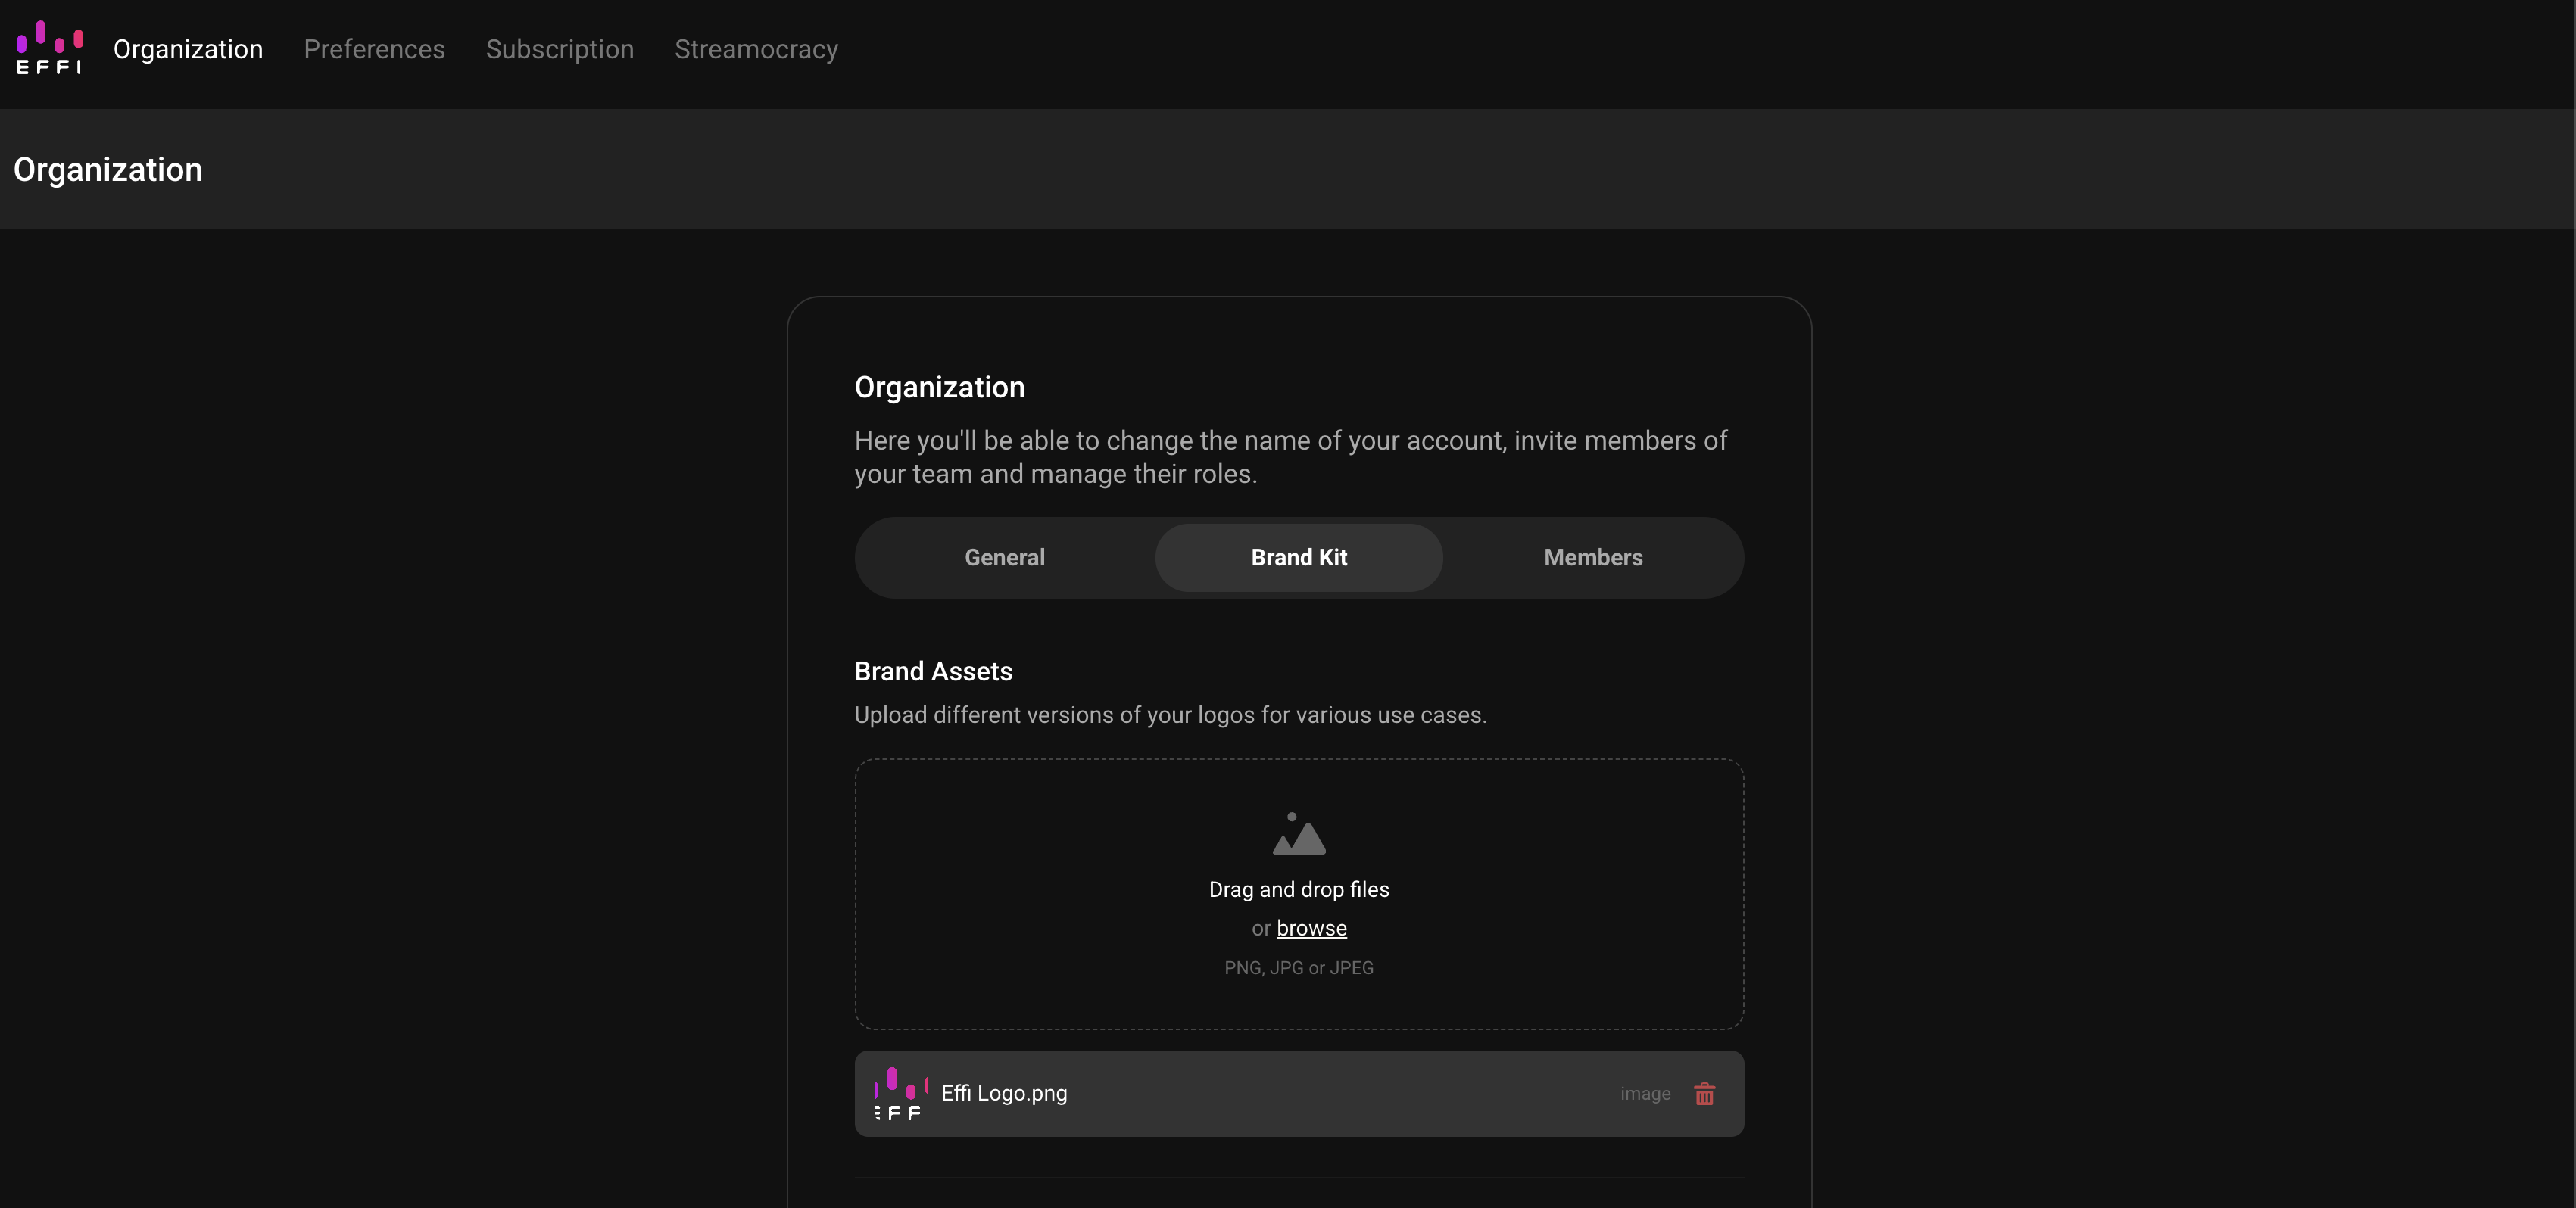
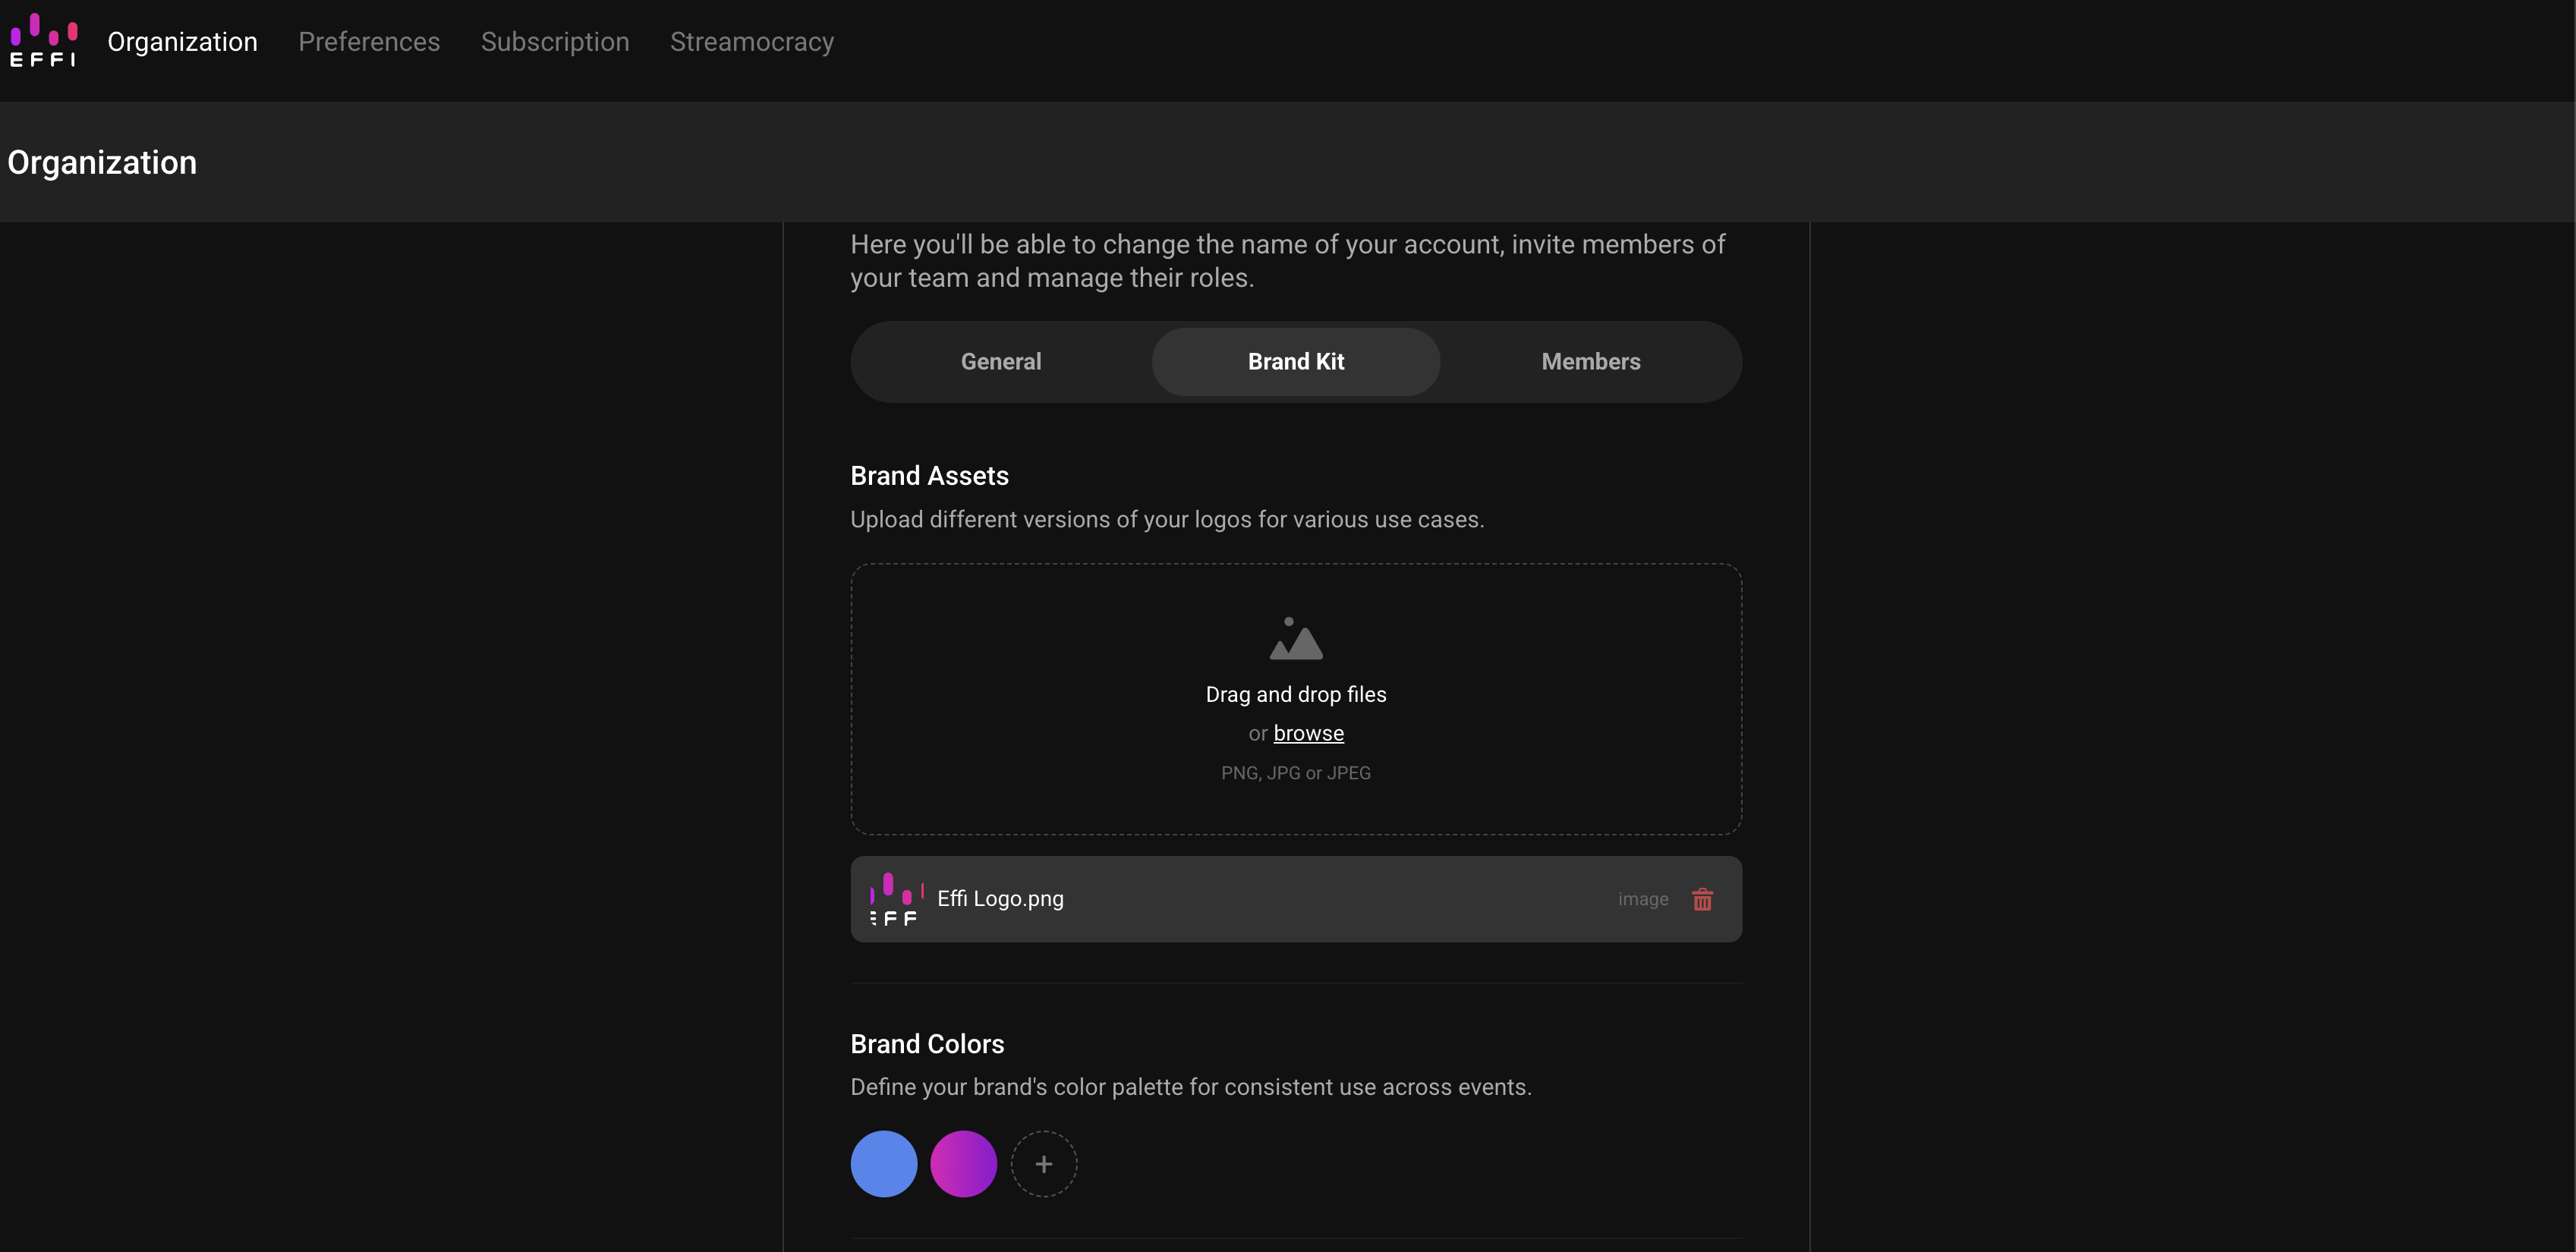
- In the Brand Assets section, drag your files into the upload area, or select browse to choose them from your computer.
- Accepted formats are PNG, JPG, and JPEG.
- Each uploaded file appears in a list below the upload area with its file name.
Brand Colors
Brand Colors are the palette your team uses across events. You can add as many colors as you need.
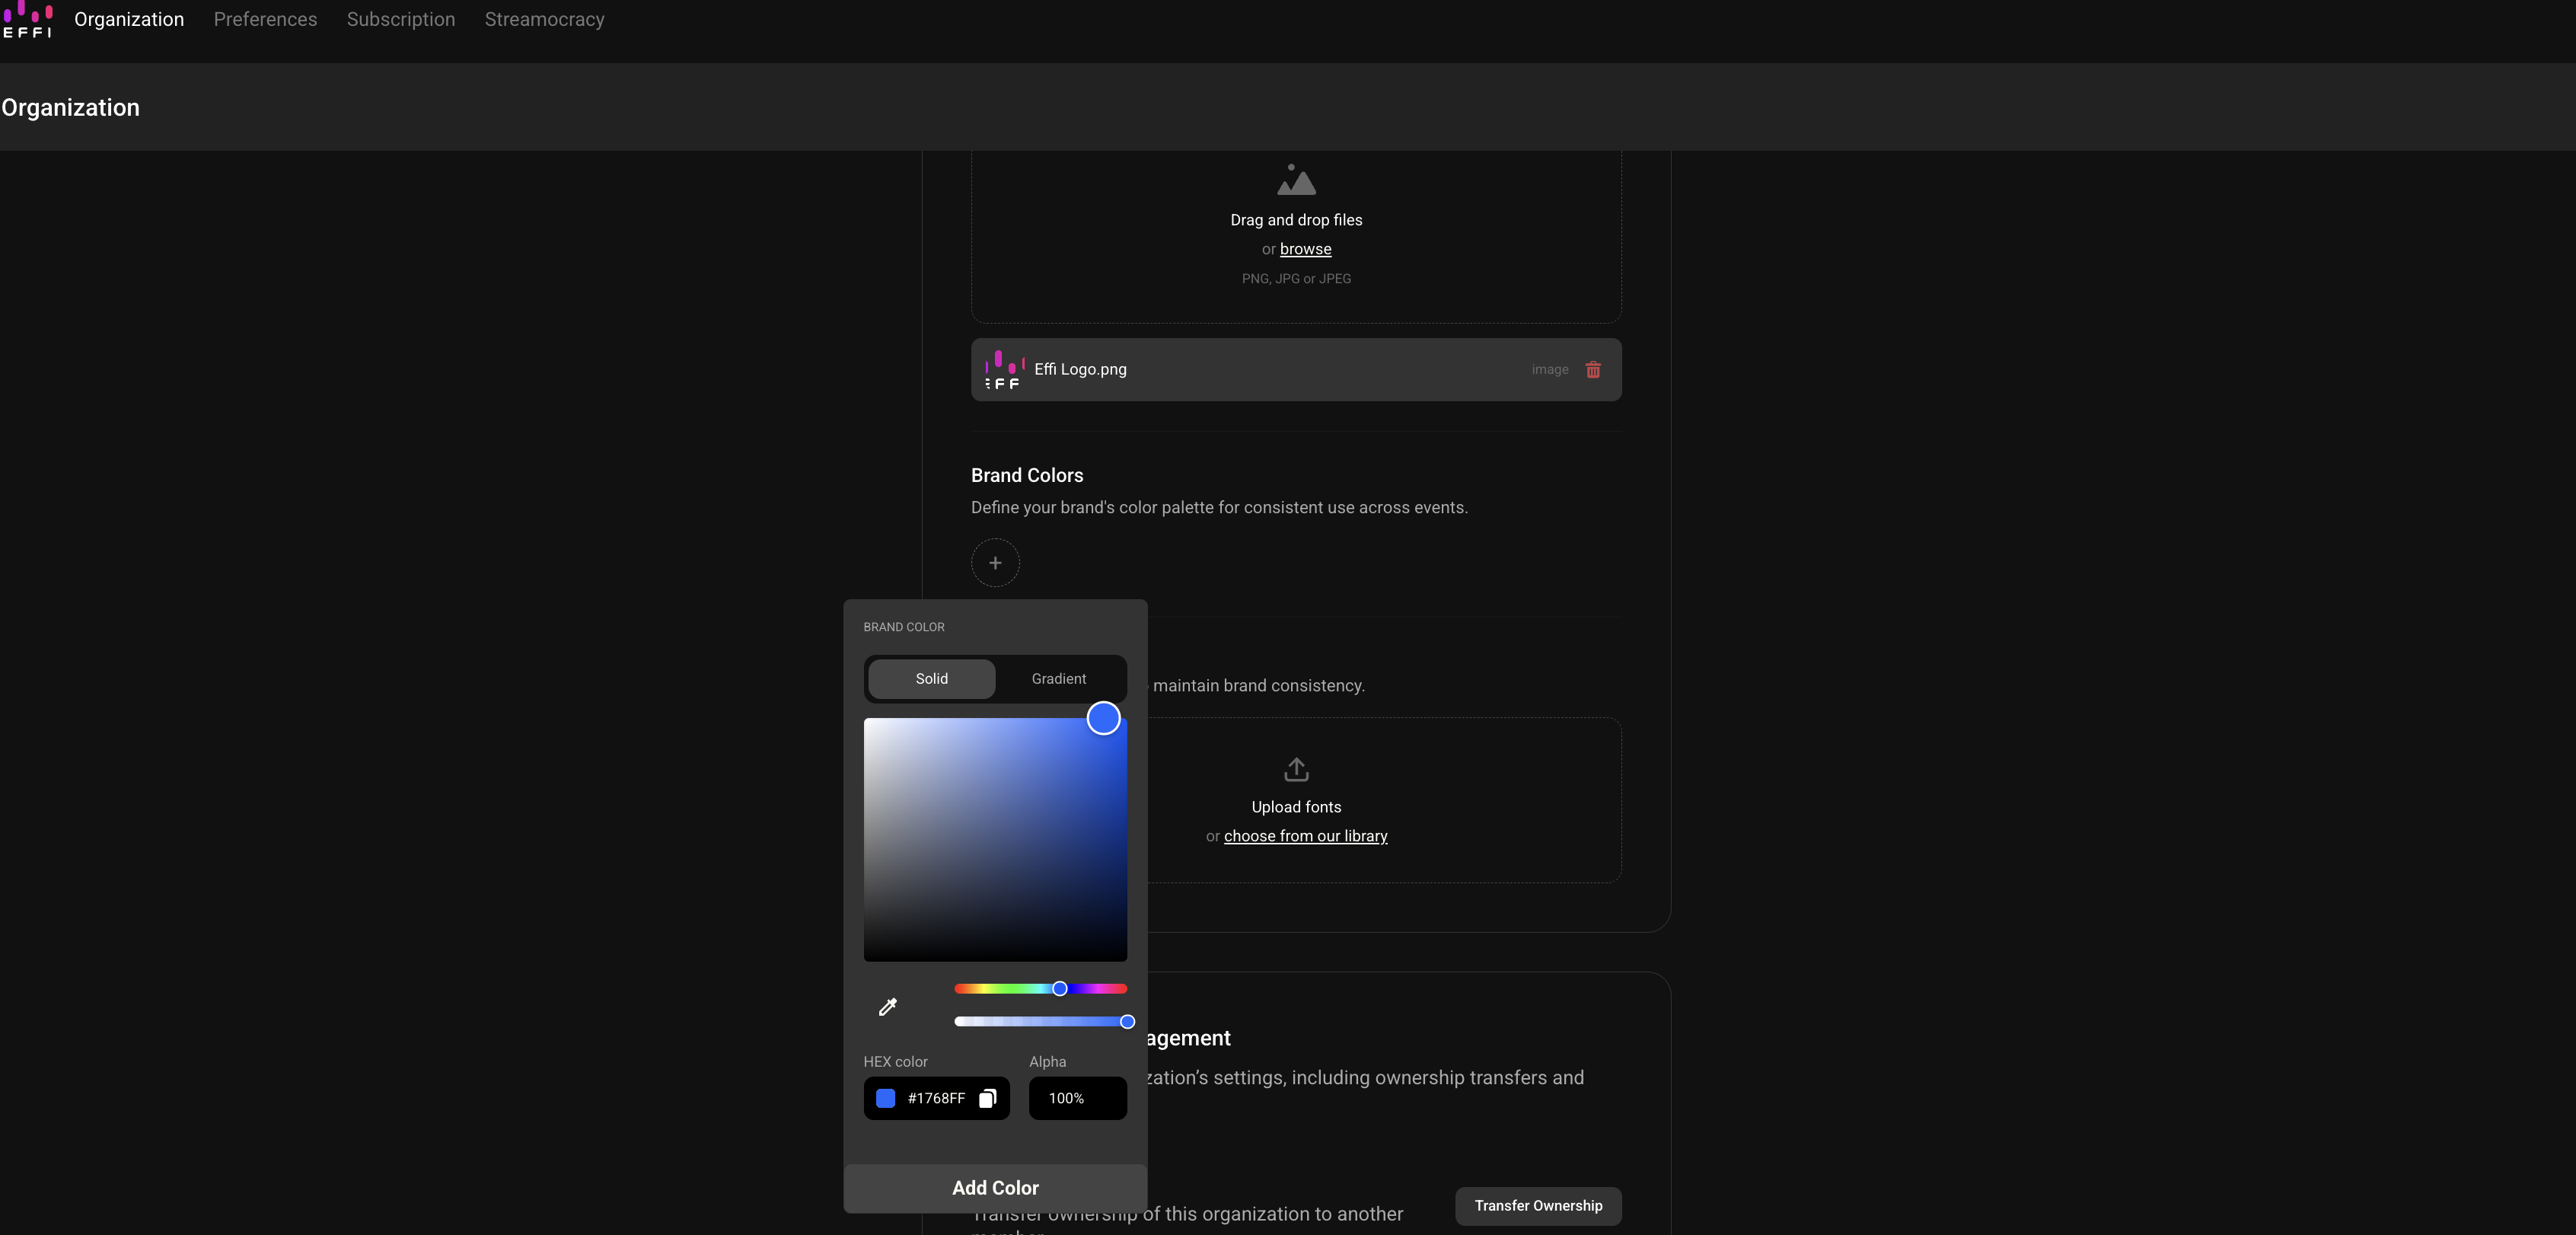
- In the Brand Colors section, select the + button.
- Choose Solid or Gradient at the top of the color picker.
- Pick your color using the color field and hue slider, or type a value directly into the HEX color field.
- Adjust Alpha if you want the color to be partially transparent. Leave it at 100% for a fully opaque color.
- Select Add Color.
The color is saved as a swatch in the Brand Colors row. Select the + again to add the next one.
Brand Fonts
Brand Fonts are the typefaces your events use. You can pick from the built-in font library or upload your own.
To choose from the library:
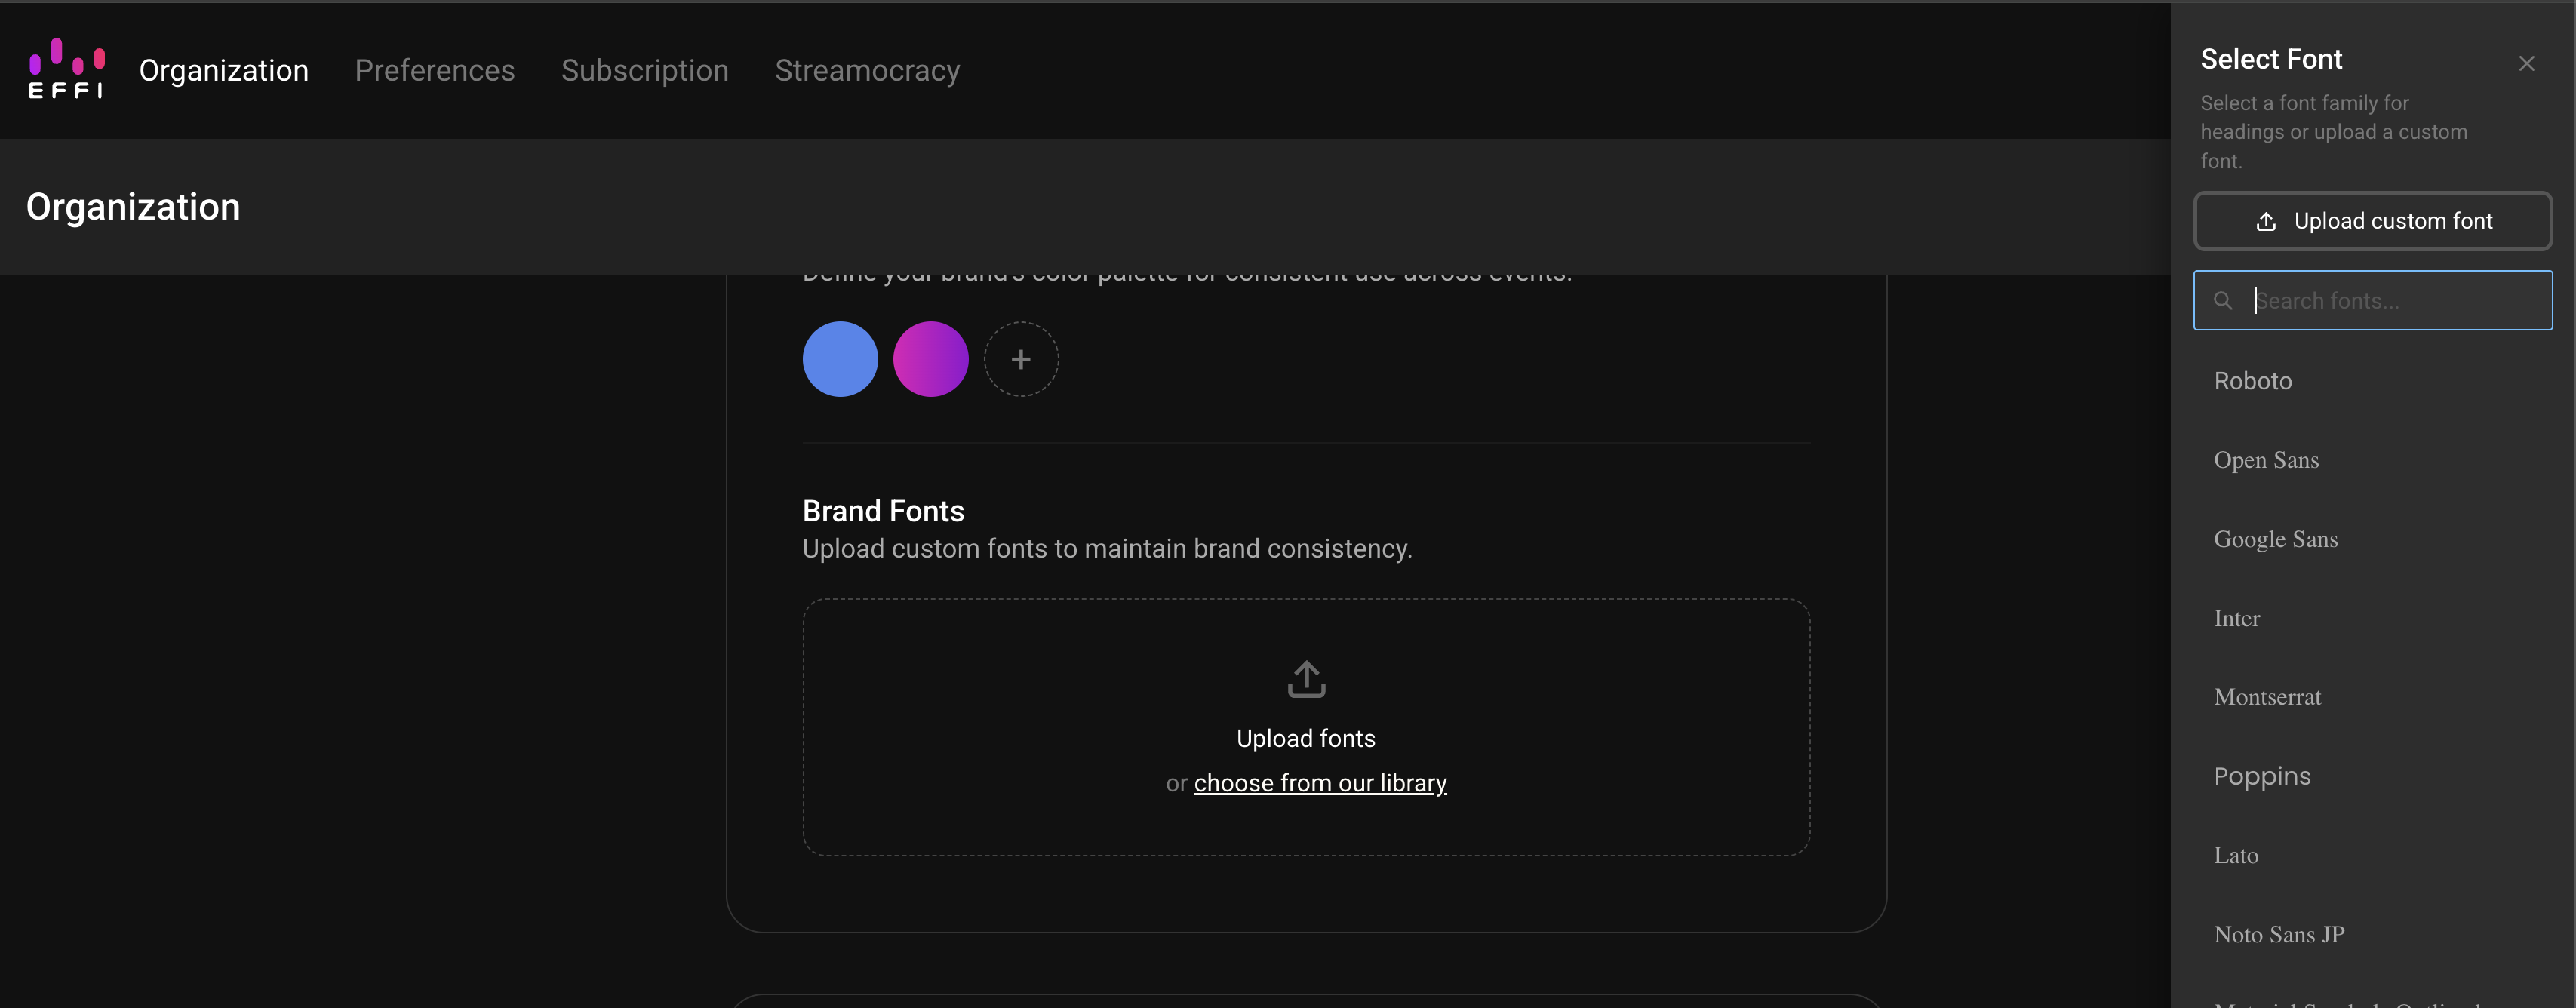
- In the Brand Fonts section, select choose from our library.
- The Select Font panel opens. Scroll the list or use the search field to find the font you want.
- Select the font to add it.
To upload a custom font:
- Select Upload fonts, or select Upload custom font at the top of the Select Font panel.
- Choose your font file from your computer.
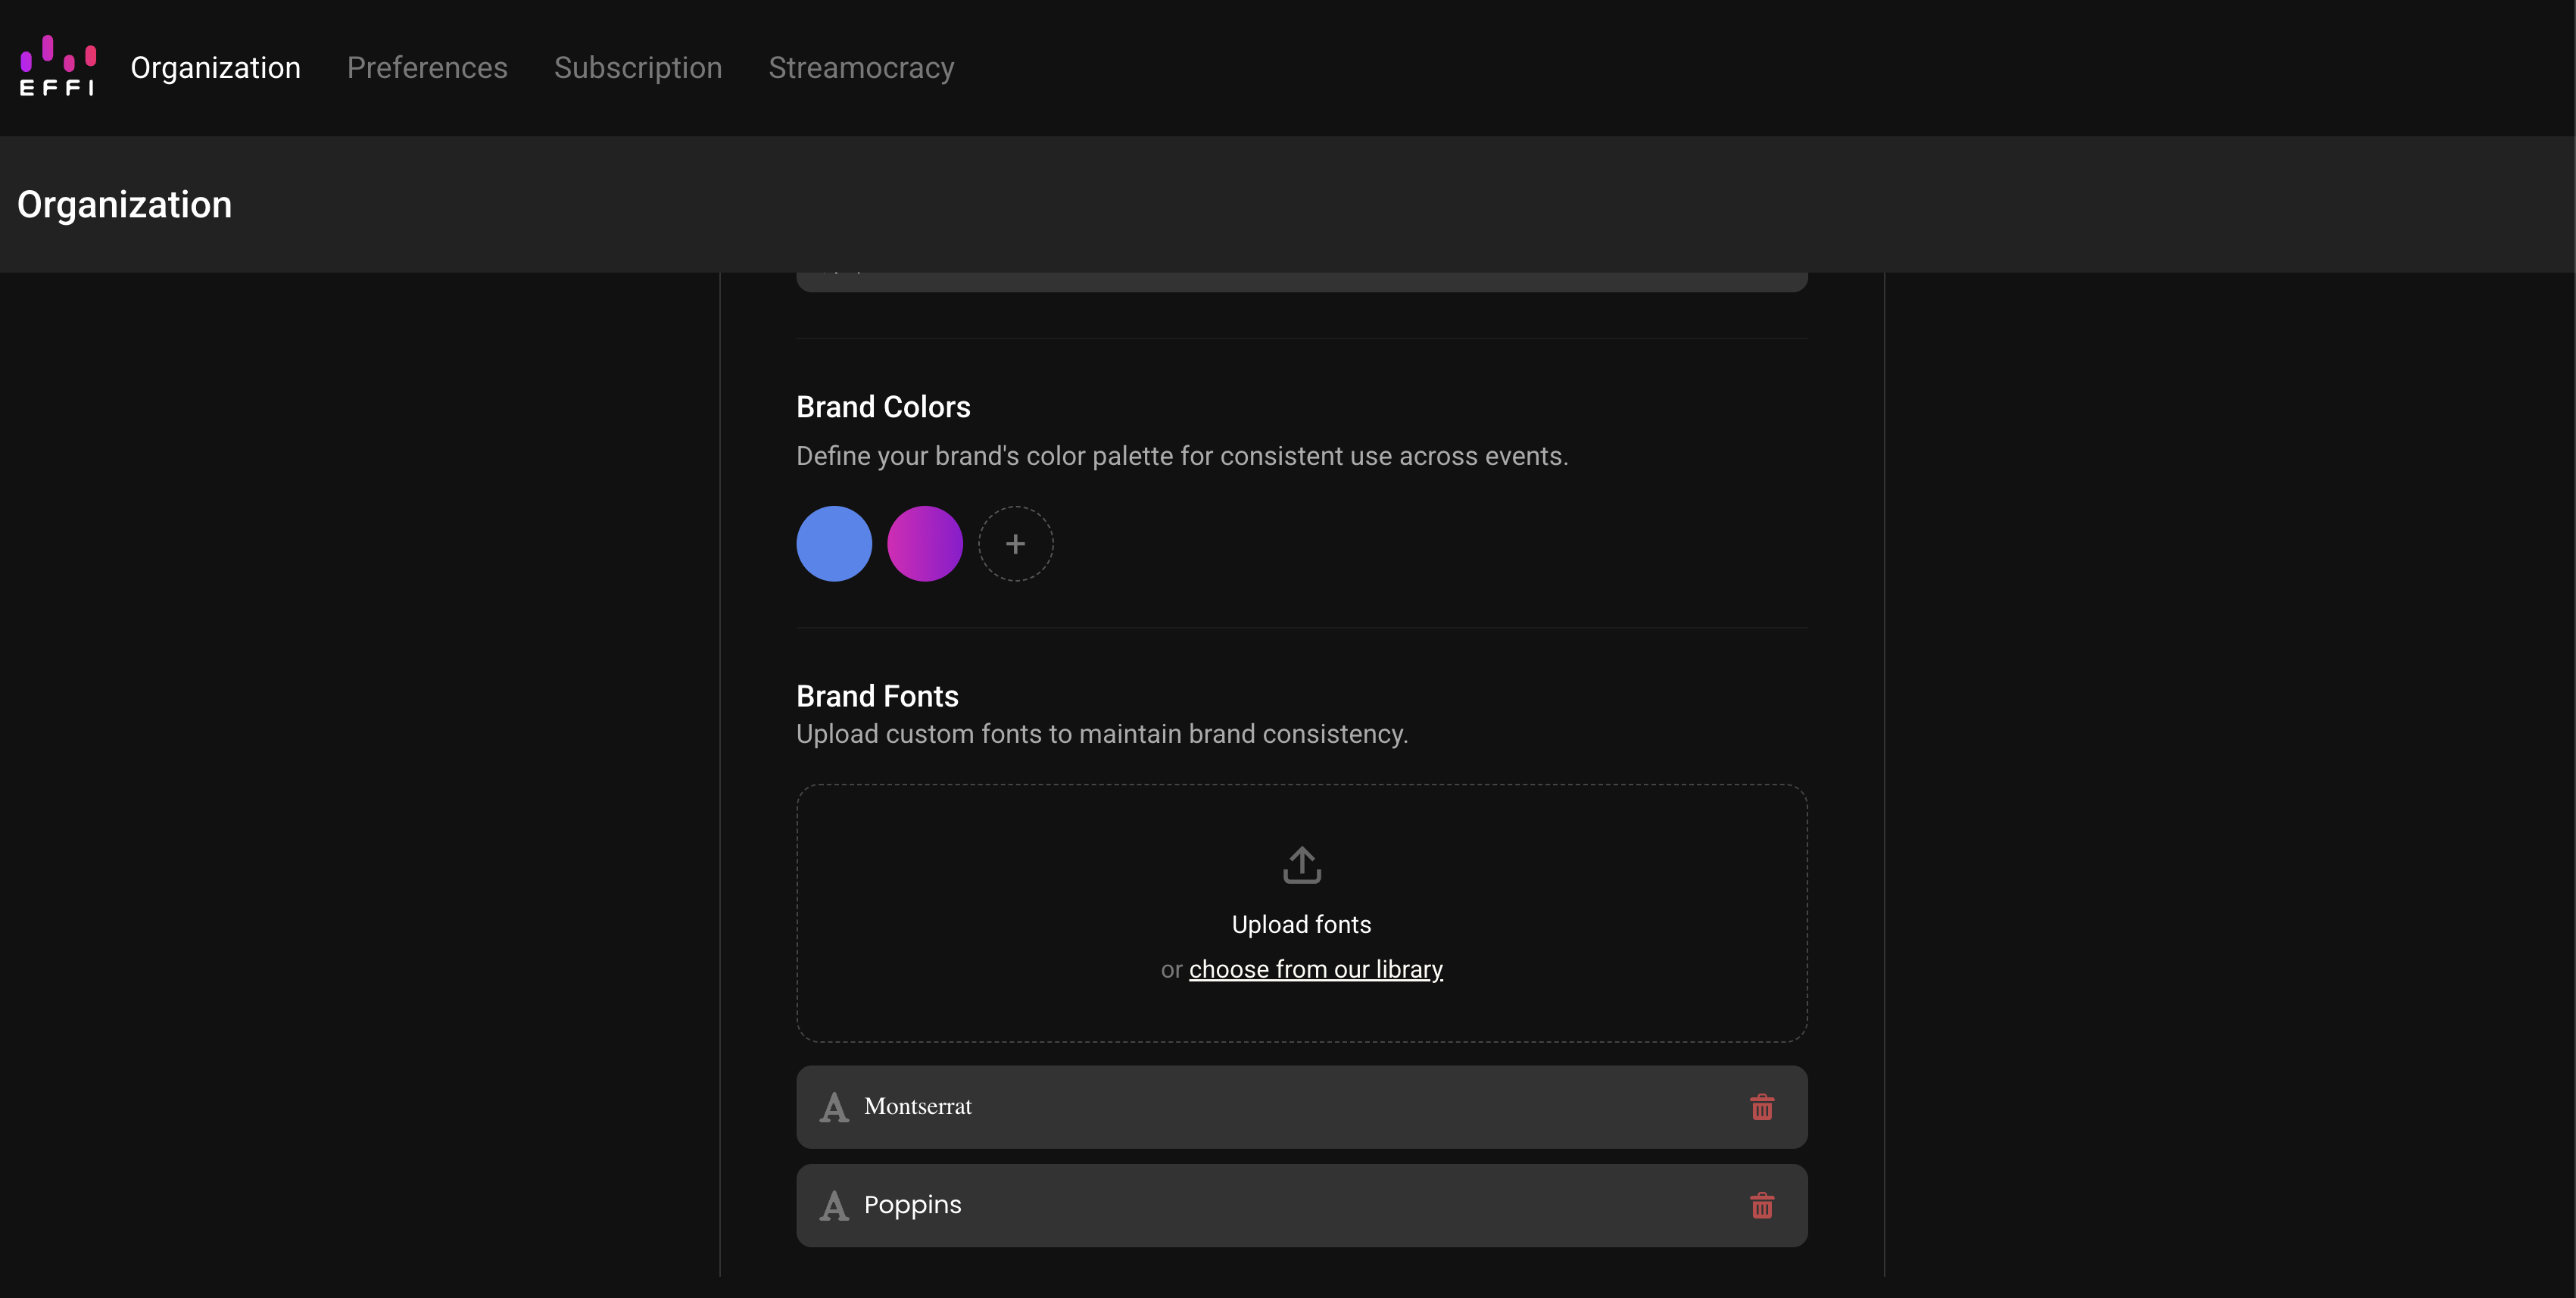
Added fonts appear in a list below the upload area, showing the font name.
Using your Brand Kit in an event
You do not need to do anything extra to bring your Brand Kit into an event. Once assets, colors, and fonts are saved, they are available automatically everywhere you style something.
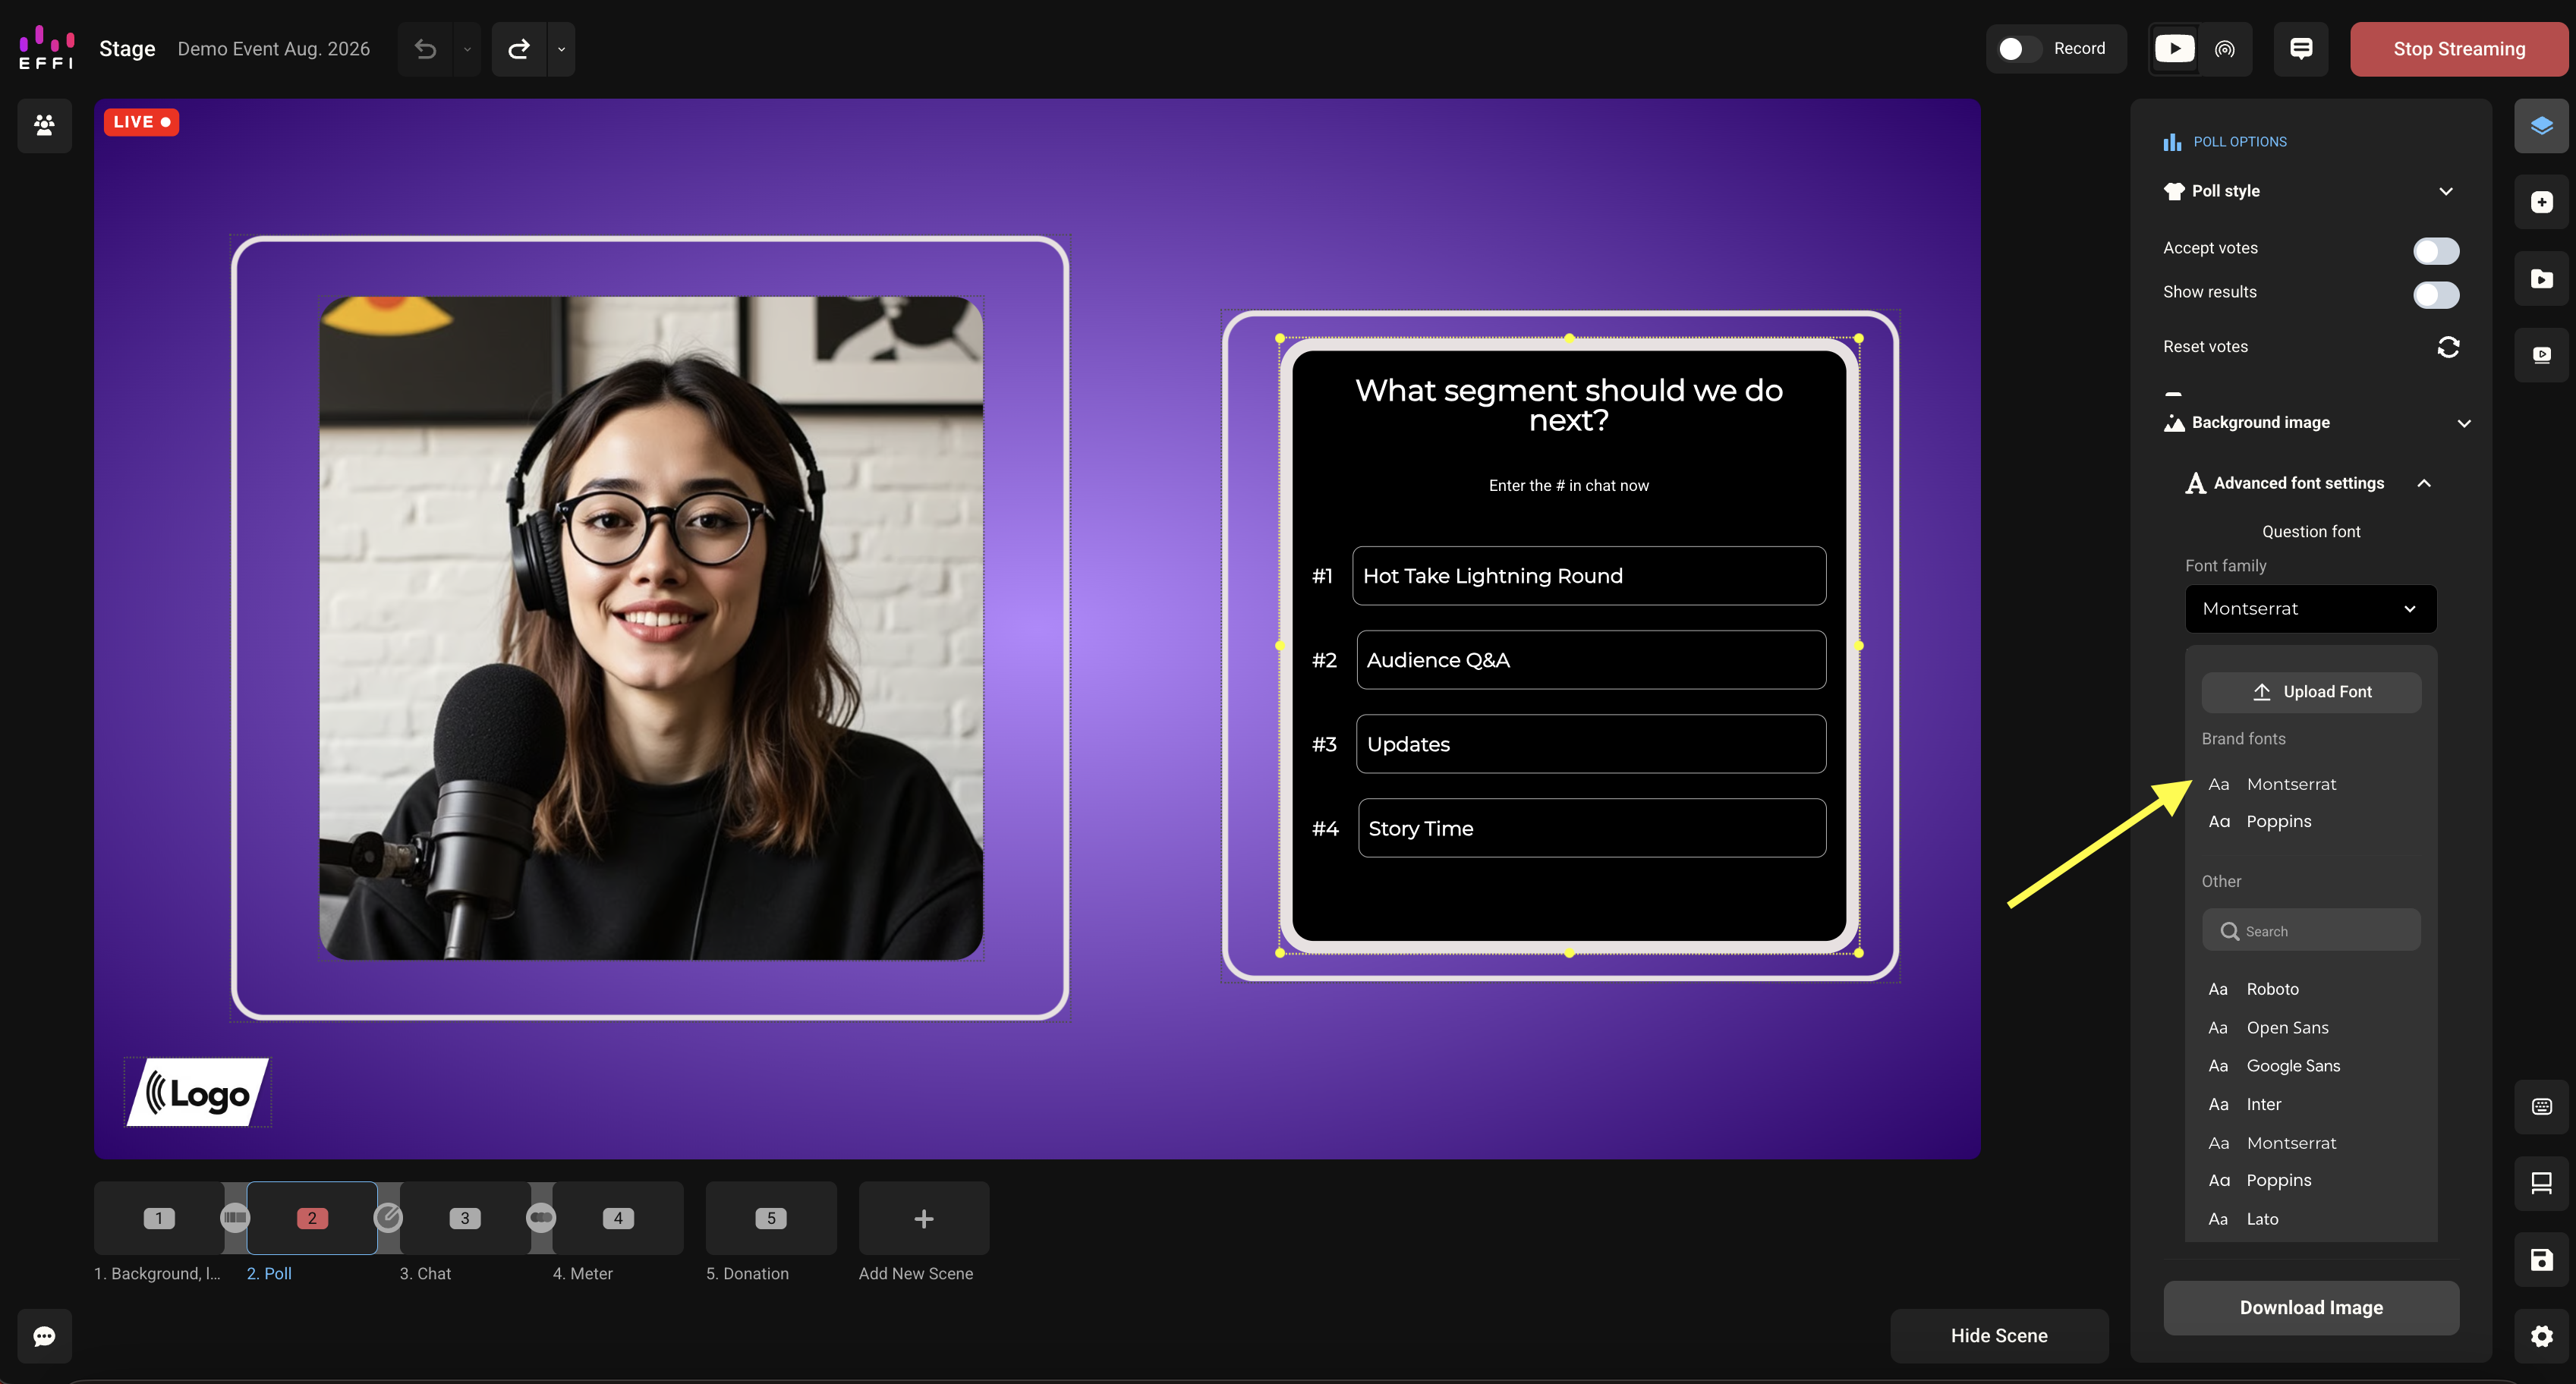
When you open a color picker or font picker for any element, your brand colors and brand fonts are pinned to the top of the picker. That means they are the first thing you see, ahead of the default options, so your team can stay on brand without copying hex codes back and forth.
Removing an item from your Brand Kit
Each uploaded asset and font has a delete icon on the right side of its row. Select it to remove that item from your Brand Kit. To remove a color, select its swatch in the Brand Colors row.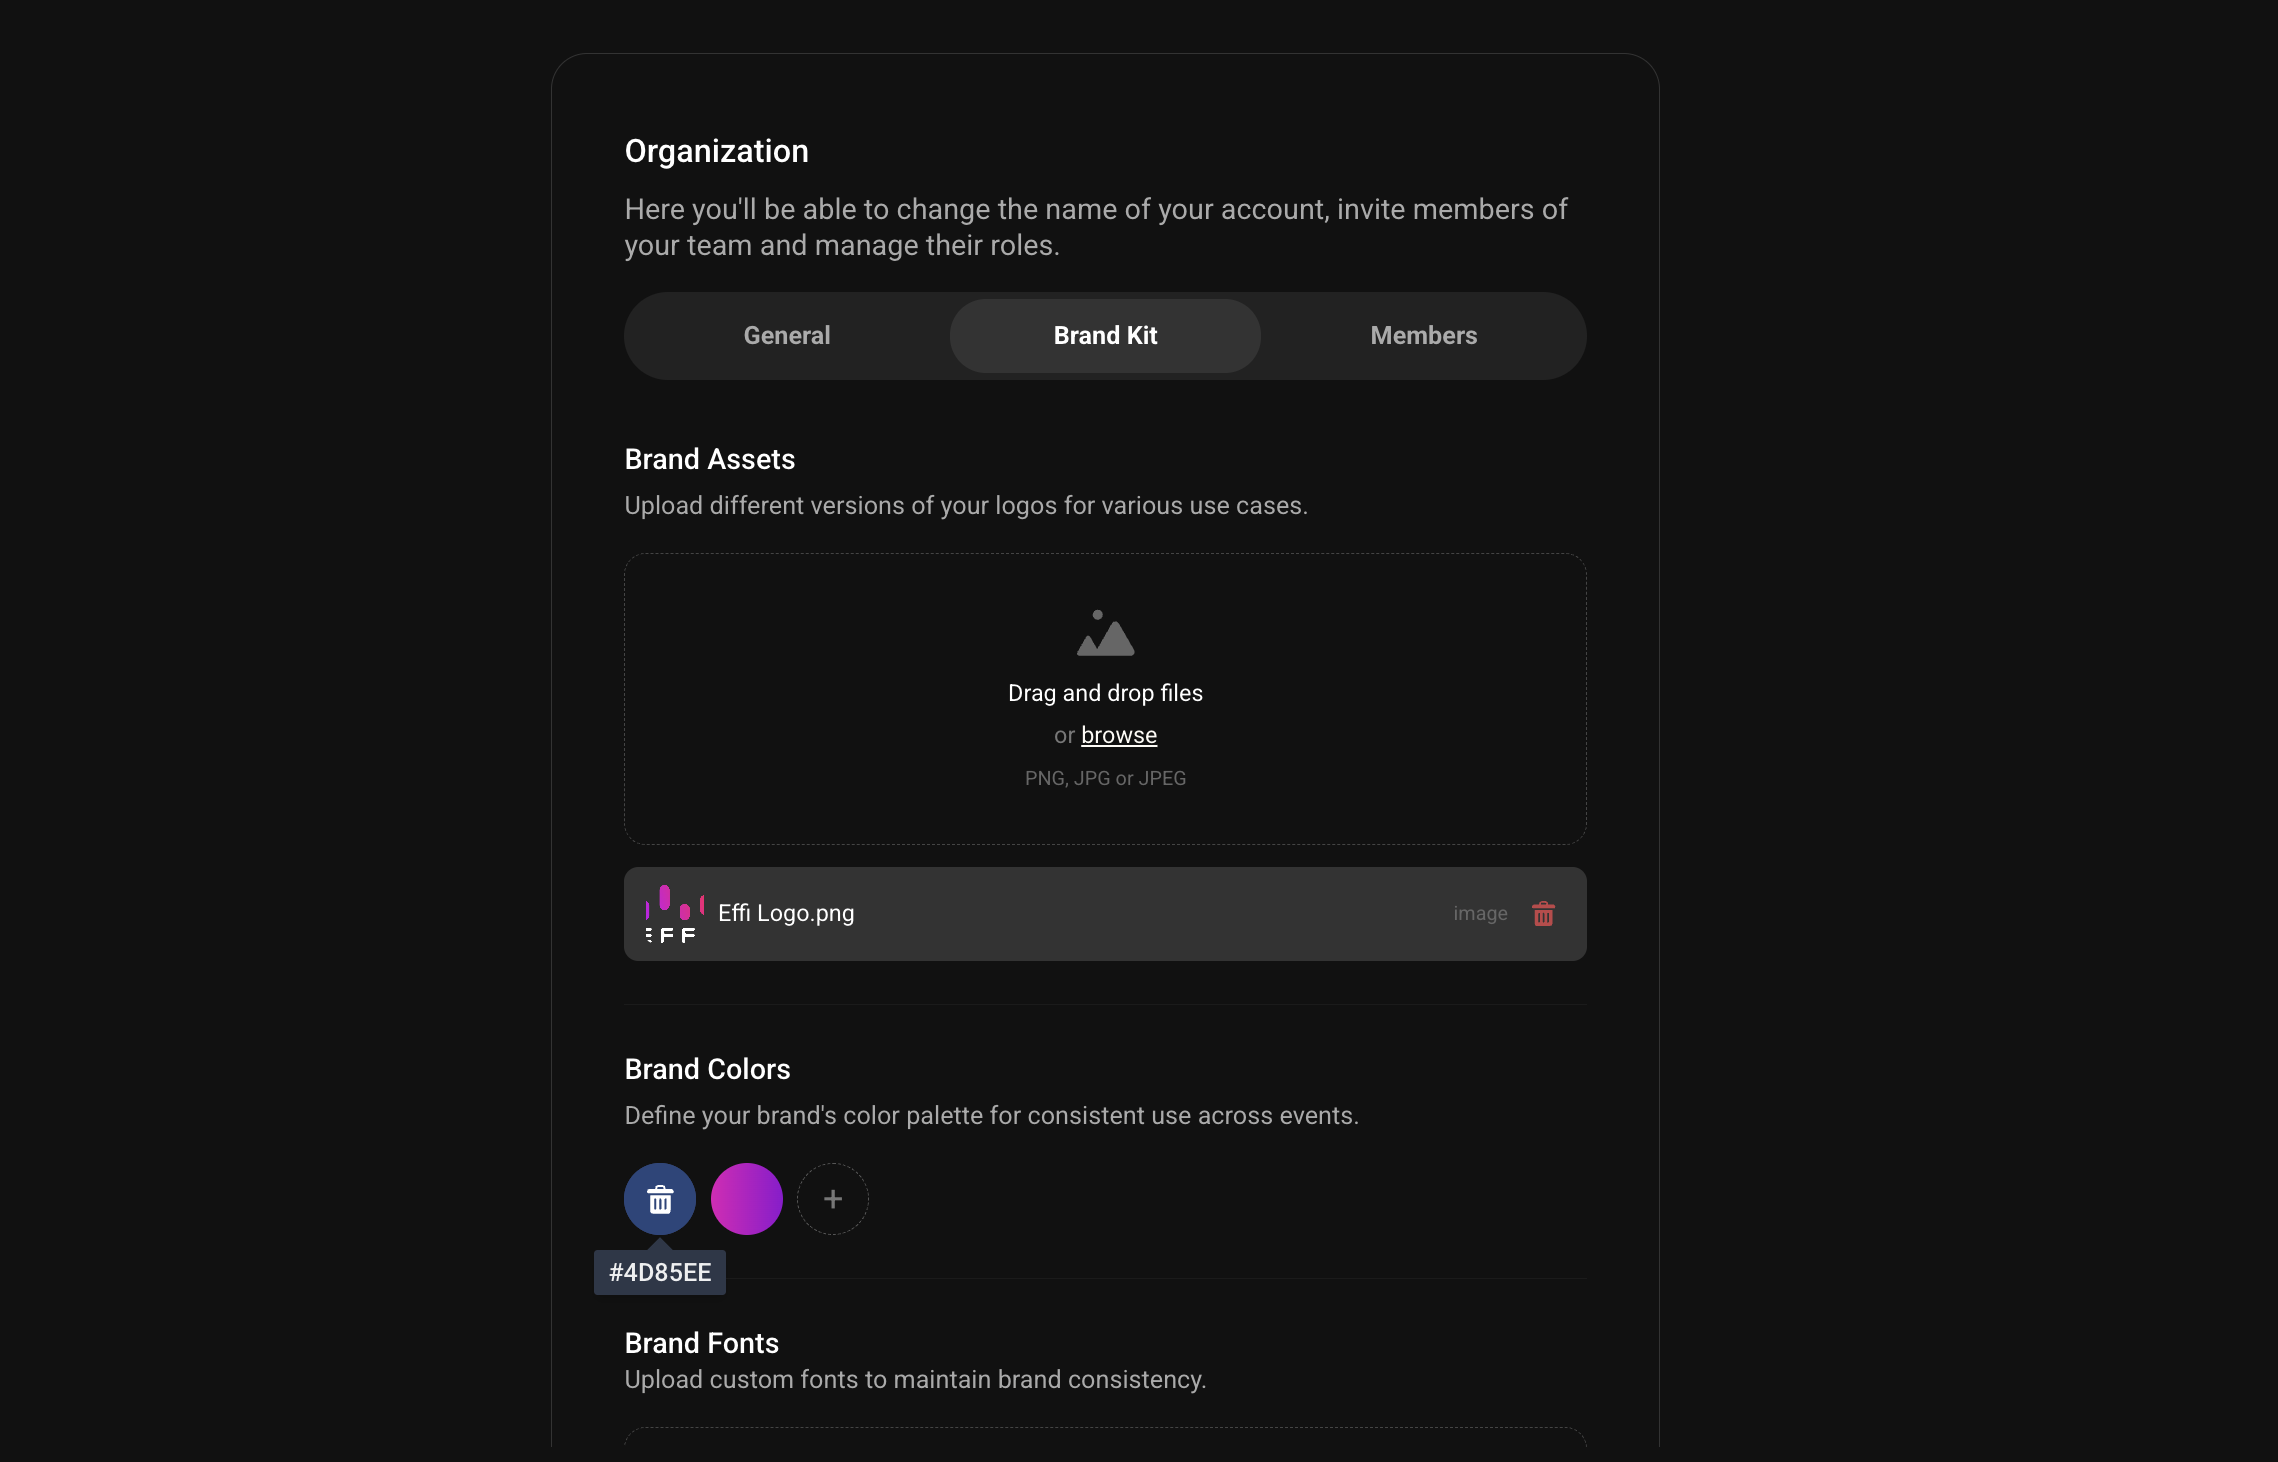
Was this article helpful?
That’s Great!
Thank you for your feedback
Sorry! We couldn't be helpful
Thank you for your feedback
Feedback sent
We appreciate your effort and will try to fix the article